Let’s be honest: Minecraft’s potion system feels like chemistry class… but in a lava-filled dungeon with pigs that punch.
Still, brewing potions is one of the most powerful things you can do — whether you’re diving into the Nether, fighting the Ender Dragon, or just trying not to die in hardcore mode.
Here’s how to master it without needing a wizard’s license.
What potions are and why they matter
Potions give you temporary effects, like:
- Healing
- Fire resistance
- Night vision
- Strength
- Speed
- Invisibility
Some are offensive, like Poison or Weakness. Others are clutch lifesavers (hello, Splash Potion of Healing).
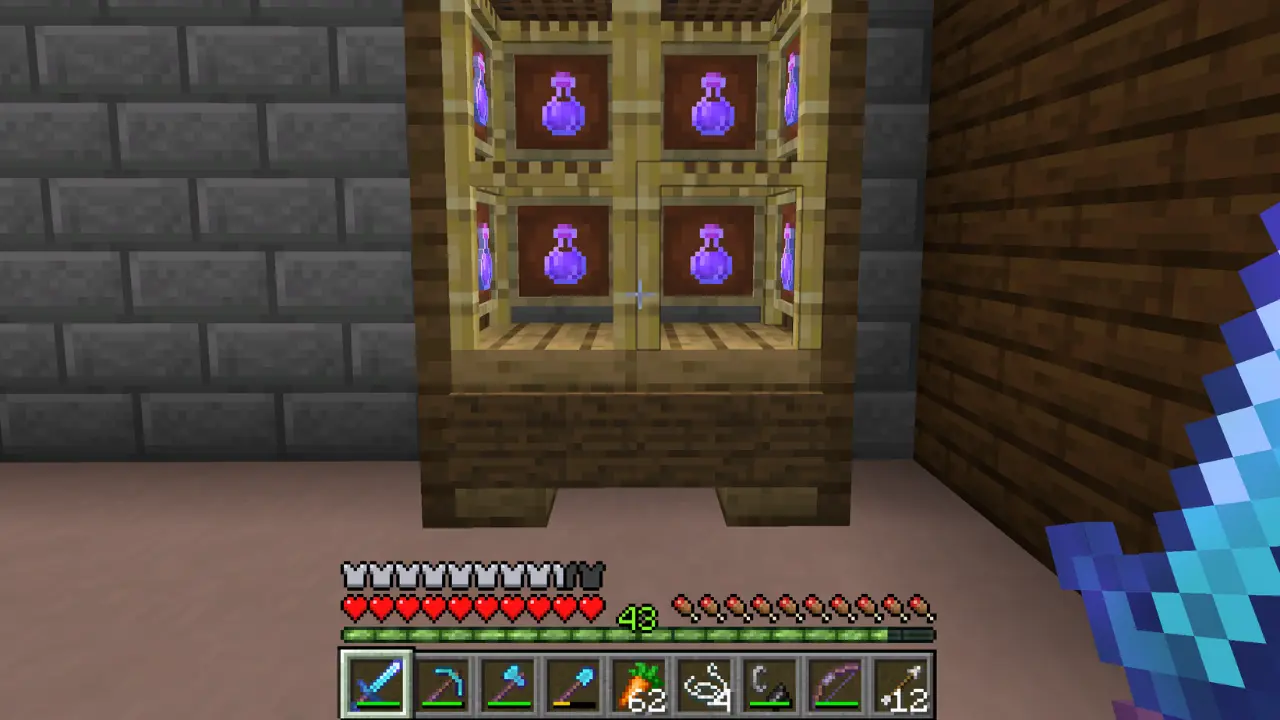
Step 1: What you need to start brewing
Core gear:
- Brewing stand (made with 1 blaze rod + 3 cobblestone)
- Blaze powder (fuel for the brewing stand)
- Glass bottles (3 glass each)
- Water source (to fill bottles)
- Nether wart (base for most potions)
Ingredients list (starter pack):
| Ingredient | What it does |
|---|---|
| Nether wart | Turns water into awkward potion (base for most) |
| Blaze powder | Used in Strength potions |
| Magma cream | Fire resistance |
| Ghast tear | Regeneration |
| Sugar | Speed |
| Rabbit’s foot | Jump boost |
| Glistering melon | Instant health |
| Spider eye | Poison (or Weakness when fermented) |
| Redstone dust | Extends potion duration |
| Glowstone dust | Amplifies potion strength |
| Gunpowder | Turns potions into splash potions |
| Dragon’s breath | Used for lingering potions |
Bonus tip:
Always carry extra blaze powder. Brewing doesn’t work without fuel.
Step 2: Brewing basics (aka potion workflow 101)
Here’s the general flow:
- Fill bottles with water
- Place them in the brewing stand
- Add Nether wart → creates Awkward Potions
- Add your main ingredient (e.g., sugar = Speed)
- Optionally modify with:
- Redstone = longer duration
- Glowstone = stronger effect (but shorter)
- Gunpowder = splash potion
- Dragon’s Breath = lingering potion
Now you’ve got potions that actually do something. Woo.
Step 3: Potions you actually want (and when to use them)
Essential survival potions
- Potion of Healing – Instant health. Craft with glistering melon.
- Potion of Regeneration – Continuous healing. Use ghast tear.
- Potion of Fire Resistance – Nether MVP. Made with magma cream.
- Potion of Night Vision – Use golden carrot. Great for exploring.
Combat potions
- Potion of Strength – More damage = faster fights. Use blaze powder.
- Potion of Swiftness – Zoom-zoom speed boost (sugar).
- Potion of Leaping – Higher jumps (rabbit’s foot). Style points.
Utility potions
- Invisibility – Made with fermented spider eye + Night Vision base.
- Water Breathing – Stay underwater. Pufferfish required.
- Slow Falling – Made with phantom membrane. Crucial in The End.
Offensive potions
- Poison – Chips away health slowly.
- Weakness – Crucial for curing zombie villagers.
- Harming – Direct damage (avoid using on yourself, please).
Step 4: How to use potions like a pro
- Splash potions: Add gunpowder. Useful in combat or co-op healing.
- Lingering potions: Add Dragon’s Breath. Leaves a cloud effect — useful in PvP traps.
- Hotbar ready: Always keep one or two on quick-access — especially Fire Resistance in the Nether.
Common mistakes to avoid
- Brewing without blaze powder (nothing happens — zero vibes)
- Drinking poison potions “just to see what it does”
- Throwing splash potions straight up (they hit you… yes, even Harming)
- Wasting rare ingredients (start small, scale up)
Pro tip:
Use cauldrons in Bedrock Edition for more brewing control (Java players rarely need them).
Final thoughts: Minecraft’s magic system is basically soup
Brewing isn’t as scary as it looks. Just think of it like cooking: start with water, toss in ingredients, maybe add spice (or explosives), and see what happens.
Once you learn the basics, you can prep for anything. Boss fights. Lava oceans. PvP duels. Or just walking around looking cool with particle effects.
Want to build a full brewing lab with auto-bottle refill, ingredient storage, and potion sorting? LumaBlast servers give you the space — and uptime — to turn your base into a medieval chemistry lab.