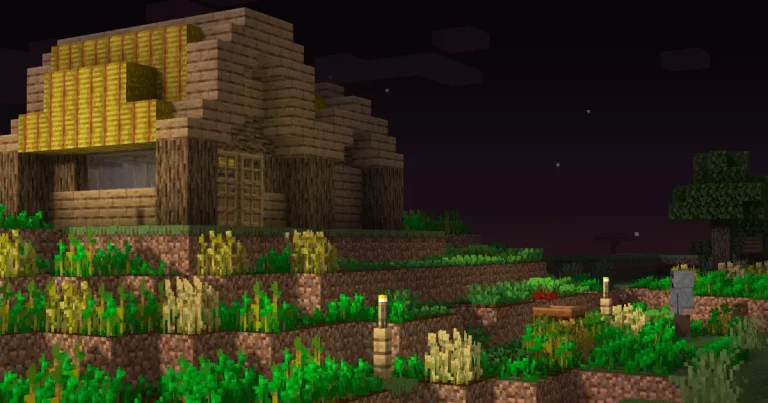
You’ve spawned, survived a night or two, and slapped together a dirt cube with a torch in it. Technically, that’s a base. Spiritually? It’s a cry for help.
Let’s talk about what a real survival starter base should include. Not a castle. Not a mansion. Just the stuff that keeps you alive, organized, and ready to thrive — without overbuilding on Day One.
1. A spawnpoint you won’t regret
The very first priority is a bed. Not just because sleep skips the night, but because it locks in your respawn point.
Don’t place it in a cave unless you like waking up surrounded by creepers.
Put your bed somewhere:
- Lit with torches
- Enclosed by walls
- Near your base entrance, not deep underground
Make it feel like home, even if the “home” is six planks and a dream.
2. A secure storage zone
Minecraft gives you more junk than a garage sale. If your “storage” is a single chest with five types of cobblestone and 47 saplings — time to level up.
Start with:
- 3–4 double chests
- One for tools
- One for food and farming
- One for blocks
- One for “misc” (because let’s be honest, it’s unavoidable)
Label them with signs or item frames if you’re feeling organized. Future you will thank present you when you’re not digging through chests during a skeleton ambush.
3. A basic farm (seriously, don’t skip this)
Food is survival. Farming means no more eating zombie flesh because you forgot to hunt.
A tiny farm layout:
- 9×9 tilled dirt patch
- Water block in the center
- Surrounded by wheat, carrots, or potatoes
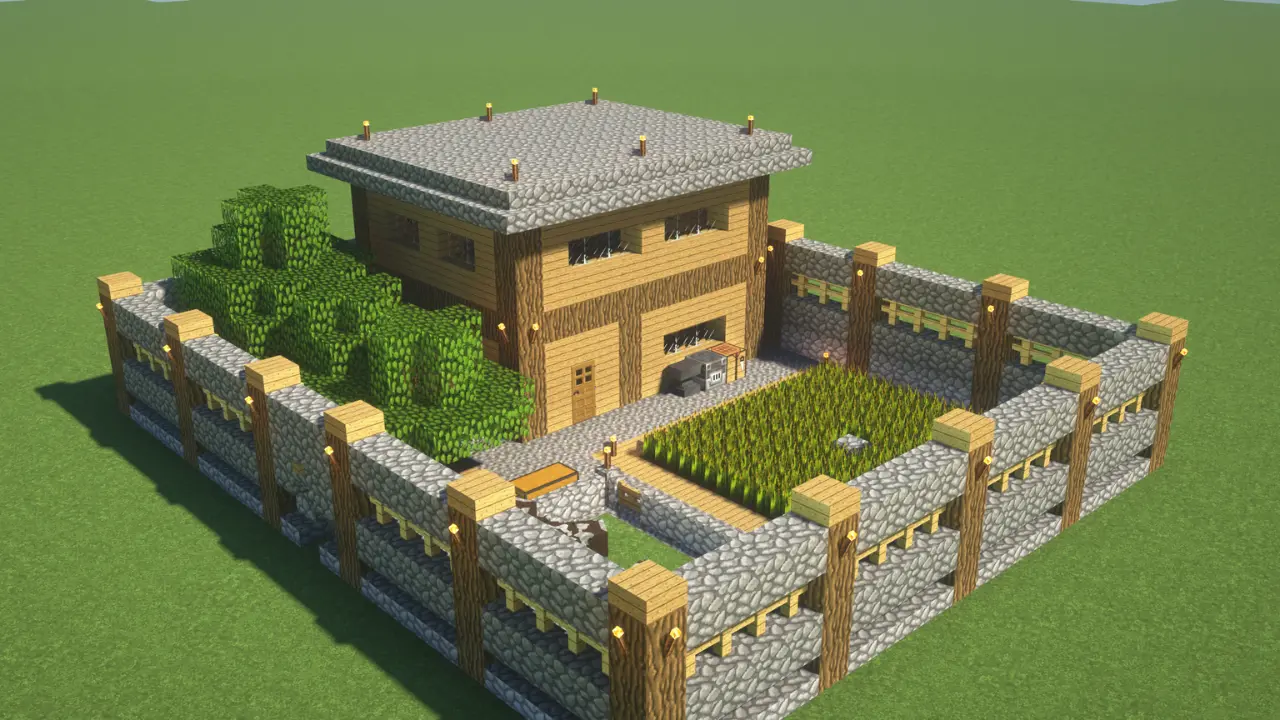
Add a fence around it and throw in some torches. Boom — infinite food.
Bonus if you make a separate pen for cows, sheep, or chickens. Meat, wool, eggs — all good stuff early on.
4. A crafting and smelting corner
Keep these close together:
- Crafting table
- Furnace (or a few)
- Blast furnace (for faster ore smelting)
- Smoker (for food)
- Anvil (once you have iron to spare)
You don’t need a dedicated “workshop” on Day One, but putting these side-by-side means you can gear up fast when things get spicy.
5. Defensive lighting
One torch inside your base is not enough. Mobs spawn in light level 0 — that means one shadowy corner is all it takes for a creeper to show up and end your interior decorating dreams.
Scatter torches:
- On your roof
- Around your outer walls
- Along nearby paths
Eventually, swap to lanterns or glowstone for aesthetics, but right now? You’re aiming for “safe and yellow.”
6. A lookout point
Stack up some blocks and make a small tower or balcony. Being able to spot threats — or just admire your wheat — is weirdly useful.
Doesn’t have to be fancy. Three cobblestone pillars with a torch on top can do the job.
Bonus if you can see your base from far away. Some players put a campfire chimney on top so it’s visible from a distance. Smart and cozy.
7. Your own personal mine entrance
Digging a straight tunnel to diamond level (around Y -58) from your base saves so much time.
Don’t make a giant spiral. Don’t dig straight down. Just build a staircase near your crafting area and start a proper mine.
Torch it. Fence it. Maybe even put a chest halfway down for extra picks and snacks.
Congrats! You’ve made it!
A survival base isn’t about impressing anyone. It’s about creating a space that makes you feel like you’ve got control — like the chaos of night and creepers and falling into lava is out there, and you’re safe in here.
Once your base has the essentials, you can expand however you want — towers, mob farms, brewing labs, rail systems. But none of it works without a strong foundation.

