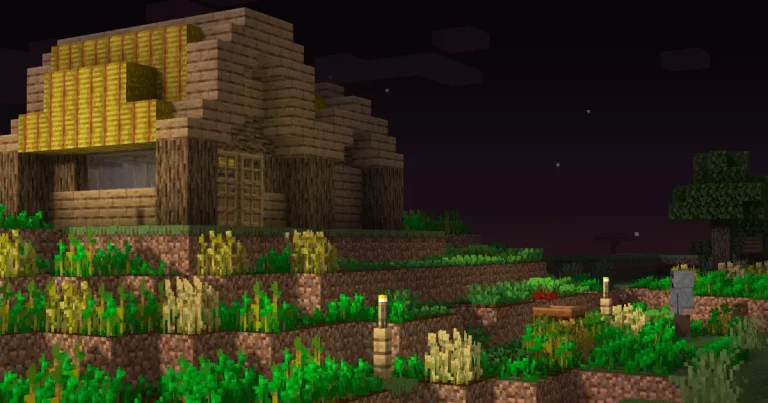
Look, we’ve all been there. The sun’s setting, the mobs are out, and you throw together a square of dirt and panic. It’s… not pretty.
But once you survive a few nights, it’s time to upgrade. Let’s talk about building a real Minecraft base — one that’s safe, smart, and doesn’t look like a blocky crime against architecture.
What makes a good Minecraft base?
A proper base should do three things:
- Protect you from mobs and the weather
- Store your loot in a way that doesn’t make you cry
- Help you thrive, not just survive
If it looks cool too? Bonus.
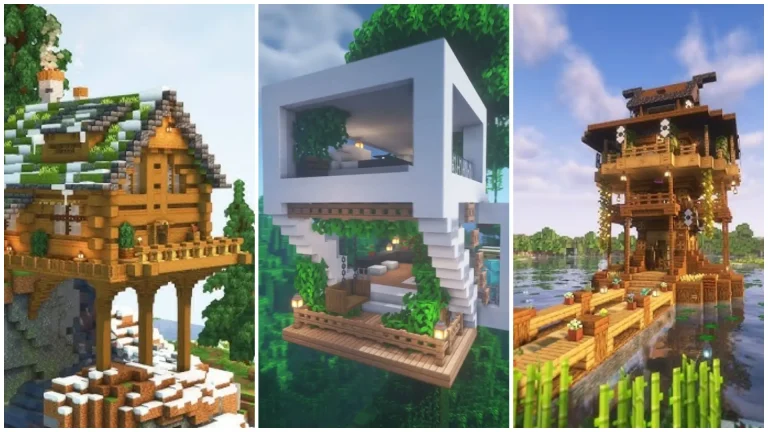
Step 1: Pick a location that makes sense
Your base is more than just a box — it’s home. So place it wisely.
Good spots:
- Near water (for farming and fishing)
- Next to a village (for trading)
- In a plains biome (flat = easy to build)
- On a mountain (views and defense)
- Near spawn (easier if you die)
Avoid:
- Deep forests (spiders love the shade)
- Snow biomes (unless you like freezing)
- Jungle (cool vibes, bad visibility)
Pro tip: You can always build a temporary shelter and upgrade later. Don’t overthink it — just get started.
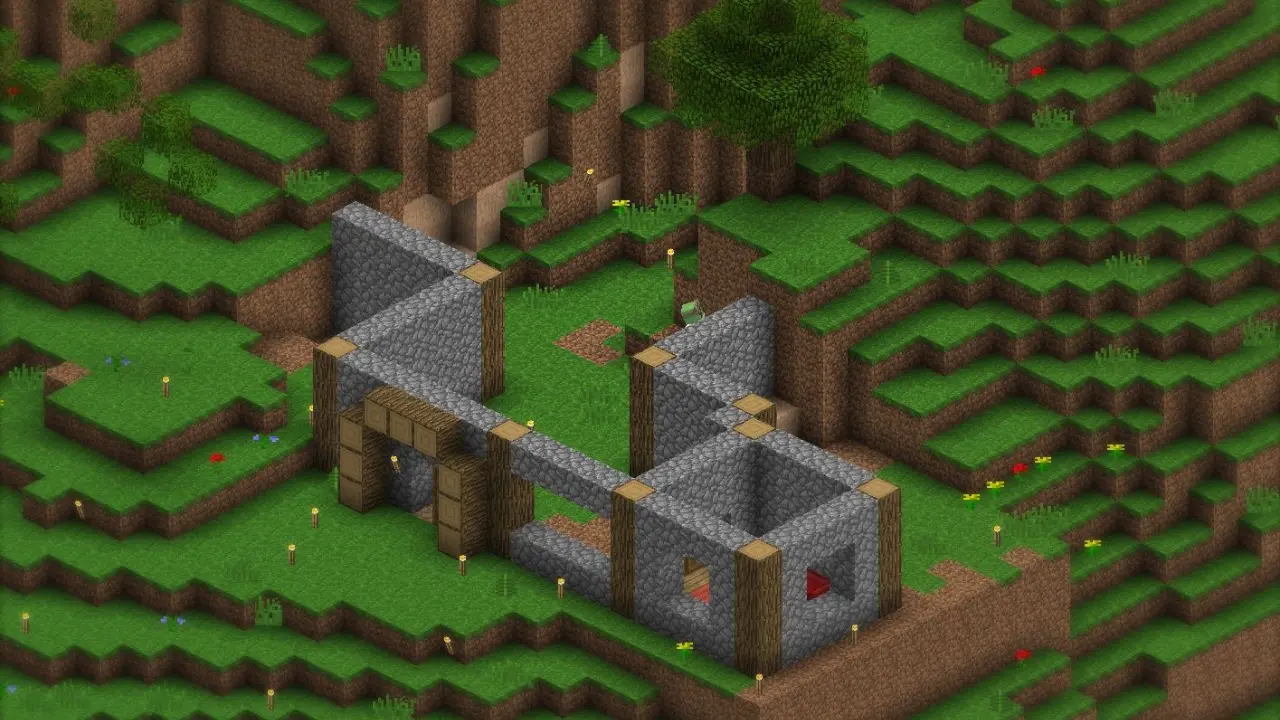
Step 2: Plan your base before you panic-build
Grab some blocks and sketch out a floor plan. It helps to think in zones:
- Storage room
- Crafting/workshop area
- Smelting corner
- Bedroom (with spawnpoint bed)
- Farming space (inside or nearby)
- Defensive walls, fences, or lighting
You don’t need to build a megabase on Day One. Just make space for what you need now and room to expand later.
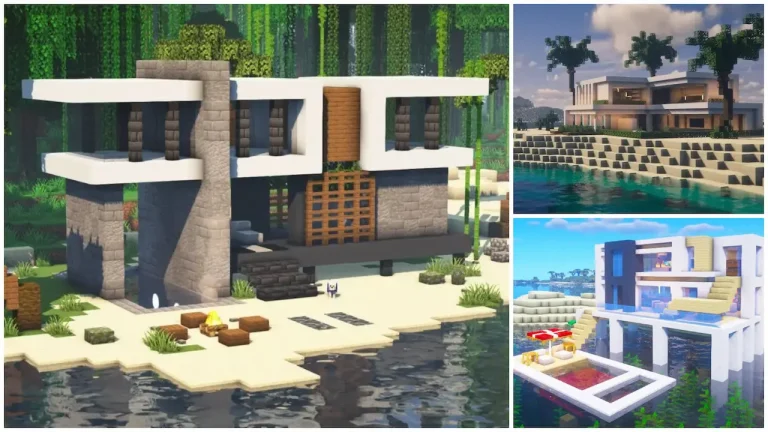
Step 3: Build with basic materials first
Start with what you’ve got:
- Stone – clean, safe, and better than wood
- Wood planks – warm and easy to shape
- Glass – for windows and style
- Fences or walls – for security
Once you have a stable layout, you can add:
- Cobblestone variations (stairs, slabs)
- Stripped logs or trapdoors for texture
- Lanterns and flowerpots for that Pinterest-core vibe
It doesn’t have to be a castle — just not a box. Or at least not a boring one.
Step 4: Light it up (seriously)
Lighting keeps mobs away. Period.
- Torches – early-game MVP
- Lanterns – stylish and bright
- Glowstone/Shroomlights – Nether-based, look fancy
Make sure:
- Every room is lit
- Outside perimeter is safe
- No dark corners for creepers to hang out
Bonus: place torches on paths outside your base to mark your way back when exploring.
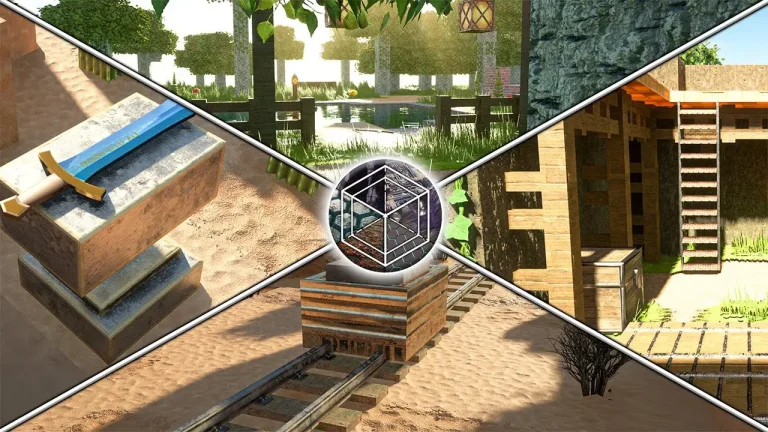
Step 5: Add utility (and a little flair)
Here’s what every base needs:
Utility:
- Furnaces and blast furnaces
- Crafting table, anvil, and grindstone
- Chest organization (even if it’s just “junk” and “less junk”)
- Farm plots (wheat, carrots, potatoes)
- Animal pens (for meat, wool, and vibes)
Flair:
- Roof overhangs
- Chimneys with campfire smoke
- A secret basement (come on, it’s Minecraft)
- A named dog
Style isn’t just for aesthetics — a cooler base is easier to navigate and more fun to live in.
Step 6: Expand when you’re ready
After a few days (or hours, if you’re obsessed), start branching out:
- Mining tunnel network
- Second floor or balcony
- Storage barn or villager trading hall
- Nether portal room
- Enchanting tower
Minecraft bases grow with you. What starts as a cottage might end up a compound.
Final thoughts: From starter hut to home sweet home
Building your first real base is a Minecraft milestone. It’s where you sleep, craft, enchant, and come back to after every misadventure. Make it yours. Make it weird. Make it better than the dirt cube you started with.
Need a safe place to build your dream base with friends — without griefers or creepers ruining it? LumaBlast servers give you a stable, always-on home to build something epic.