So you’ve got a diamond sword. A shiny pickaxe. Maybe some decent armor. That’s cool… but it’s not enchanted.
Enchanting is Minecraft’s way of turning good gear into great gear — with glowing effects, magical bonuses, and, occasionally, complete nonsense.
Let’s make sure you don’t waste your levels on the nonsense.
What enchanting does (and why it matters)
Enchanting lets you upgrade weapons, armor, tools, and even books with magical effects.
Examples:
- Efficiency – mine faster
- Unbreaking – last longer
- Fortune – get more loot
- Protection – take less damage
- Sharpness – more sword power
Without enchantments, your gear is just… okay. With them? You’re a pixelated powerhouse.
Step 1: What you need to start enchanting
Before you go enchanting everything in sight, gather these essentials:
- Enchanting table
- Crafted with: 4 obsidian, 2 diamonds, 1 book
- Lapis lazuli
- Blue gem. Found while mining (often near redstone level)
- XP levels
- Earned by mining, smelting, breeding animals, fighting mobs, fishing, or trading
You also want:
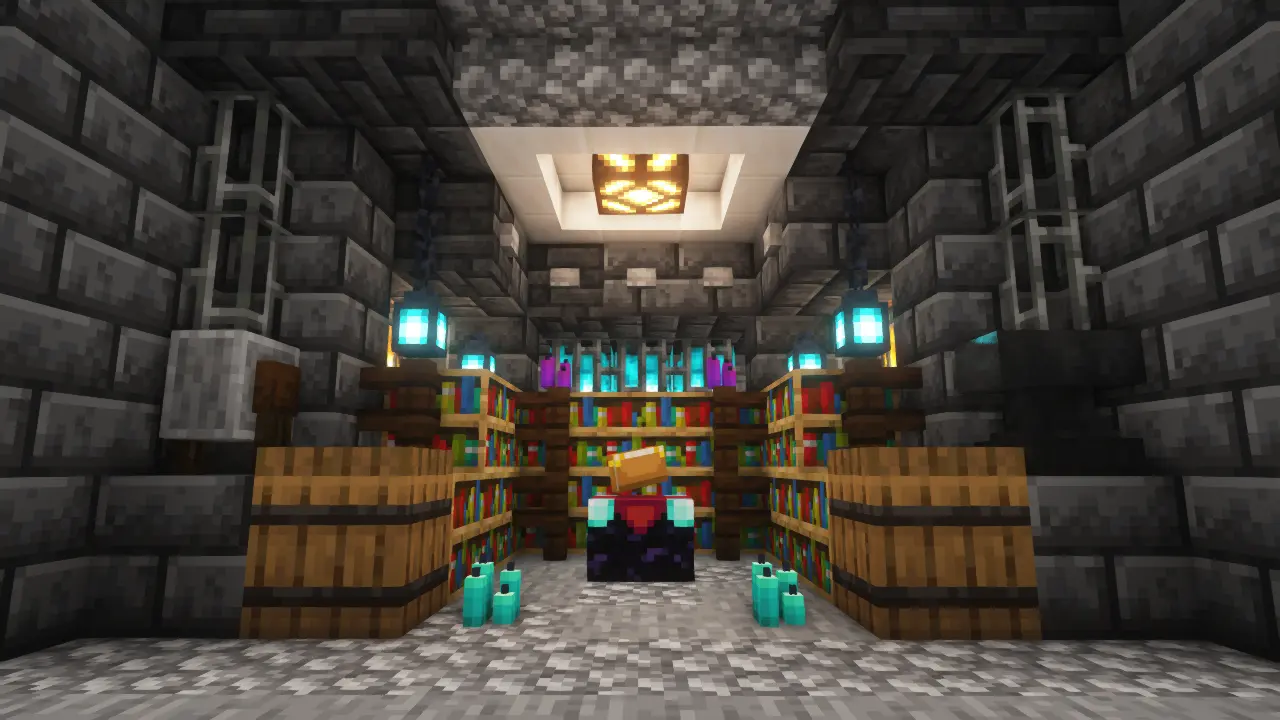
- Bookshelves
- Each one increases enchantment strength
- Place up to 15 bookshelves one block away from the table (no gaps!)
Step 2: Using the enchanting table
Here’s the setup:
- Right-click the enchanting table
- Put your item in the slot
- Add lapis lazuli
- Choose one of the three enchantments shown
Each option shows:
- The XP level required
- The amount of lapis needed
- A hint about what enchantment you might get (Java only)
Pro tip:
The more bookshelves around your table (max 15), the better the enchantments.
Step 3: Enchanting strategy (aka “don’t waste your levels”)
Enchanting is random-ish. So:
- Check the preview: It’ll show one guaranteed enchantment
- Use books if you want control (more on that below)
- Combine items in an anvil for stronger effects
Don’t waste 30 levels on a stone shovel. Save those for diamond tools or enchanted books.
Should you enchant books?
Yes. Enchanting books gives you more flexibility:
- You can combine books on an anvil with specific gear
- You can save rare enchantments for later
- Less risk of wasting a diamond tool on something useless like… Knockback II
Step 4: What enchantments to look for
Here’s a quick list of enchantments worth chasing:
Pickaxes
- Efficiency IV or V
- Unbreaking III
- Fortune III (or Silk Touch, depending on use)
Swords
- Sharpness V
- Looting III
- Unbreaking III
- Fire Aspect (optional chaos)
Armor
- Protection IV
- Unbreaking III
- Feather Falling IV (boots)
- Respiration (helmet)
Bows
- Power V
- Infinity (only need 1 arrow!)
Avoid stuff like Bane of Arthropods unless you’re doing a spider-themed roleplay server. No judgment.
Step 5: Anvils, combining, and repair magic
The anvil is where enchantments become beautiful monsters.
- Combine two items to stack enchantments
- Combine an item with a book
- Repair gear using materials (iron, diamond, etc.)
Watch your XP cost — it increases each time you combine or rename something. Eventually, it might say “Too Expensive” even if you have 100 levels.
Tip: Plan your enchant combos before you start stacking everything blindly.
Bonus tip: Grindstone = Do-over
Placed a bad enchantment? Use a grindstone to:
- Remove enchantments (except curses)
- Get back a small bit of XP
- Give the item a second chance
No more crying over “Smite I”.
Final thoughts: Glow up responsibly
Enchanting is where Minecraft gear becomes yours. Whether it’s a fire-blazing sword or a helmet that lets you breathe underwater, enchanted items feel earned.
So build that bookshelf wall, hoard lapis like it’s treasure, and make something that sparkles.


